These concept ships are not mine, but belong to the many talented artists that contributed to conceptships.blogspot.com


I also really liked the design of the Lockheed SR-71 Blackbird jet.


I made a few very basic concept sketches for my own space craft.

I decided that I liked the look of the second craft (thinner and more rounded) more and tried to come up with some basic engine designs. I will add more detail later.


I was mostly trying to get the basic shape of the engines, not too much detail at this point. I started to do some modeling.
.PNG)

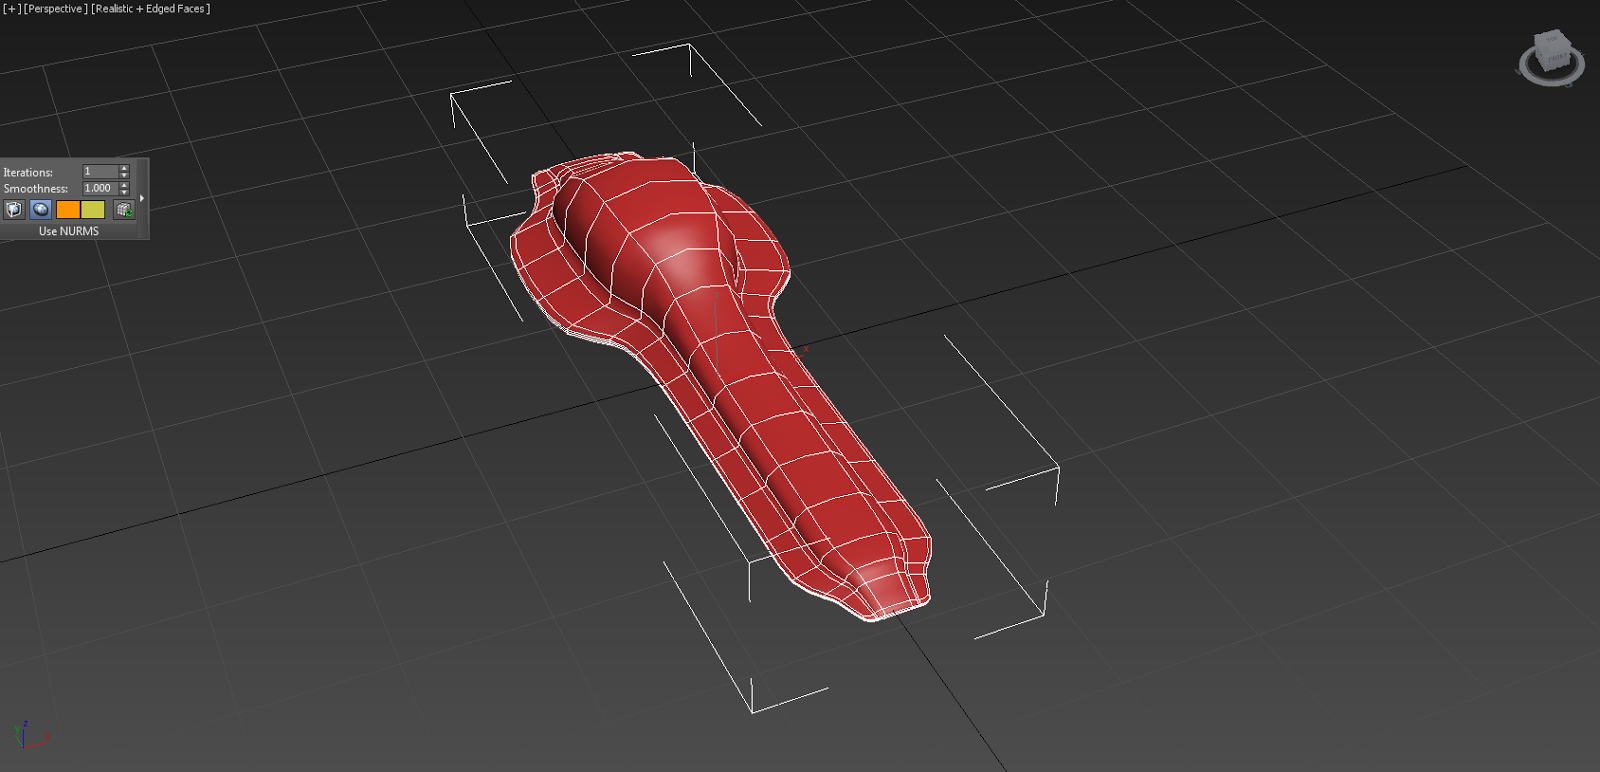
I then used a smooth modifier on the cockpit.

I can add more detail later. I started trying to use my second engine sketch to model some simple engines next.


My roommate helped me hold up my drawing so I could photograph them; I was too lazy to run to a scanner on campus.
He's Always Watching

Today I started adding a bit more detail on the cockpit (especially where the craft's window was).

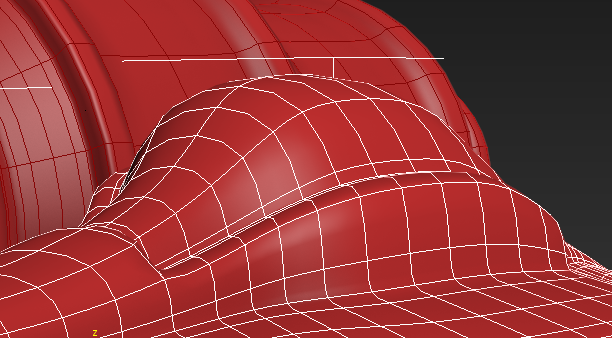
I liked how on sports cars they sometimes had raised parts on the outer car body (usually the hood) that made it look a bit sportier. So I decided to add some and see what it looked like.

Top

Bottom

Side

Front

Back

Perspective
Before & After

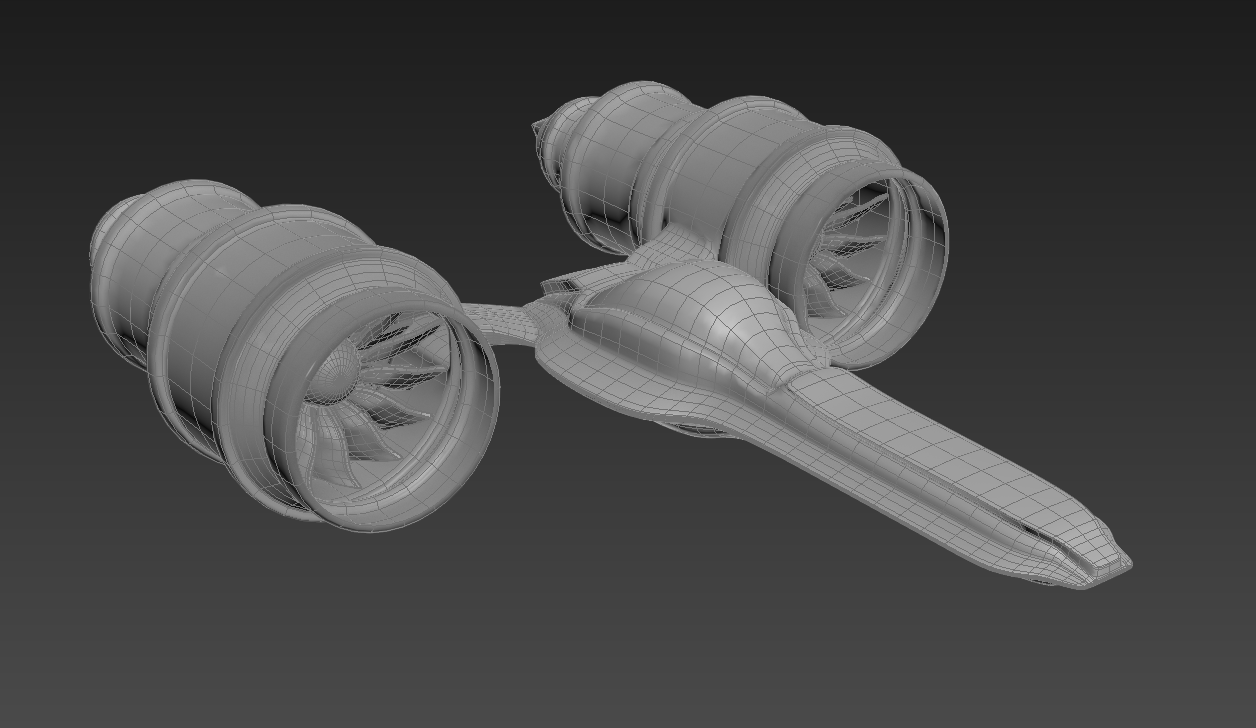
Current Ship State


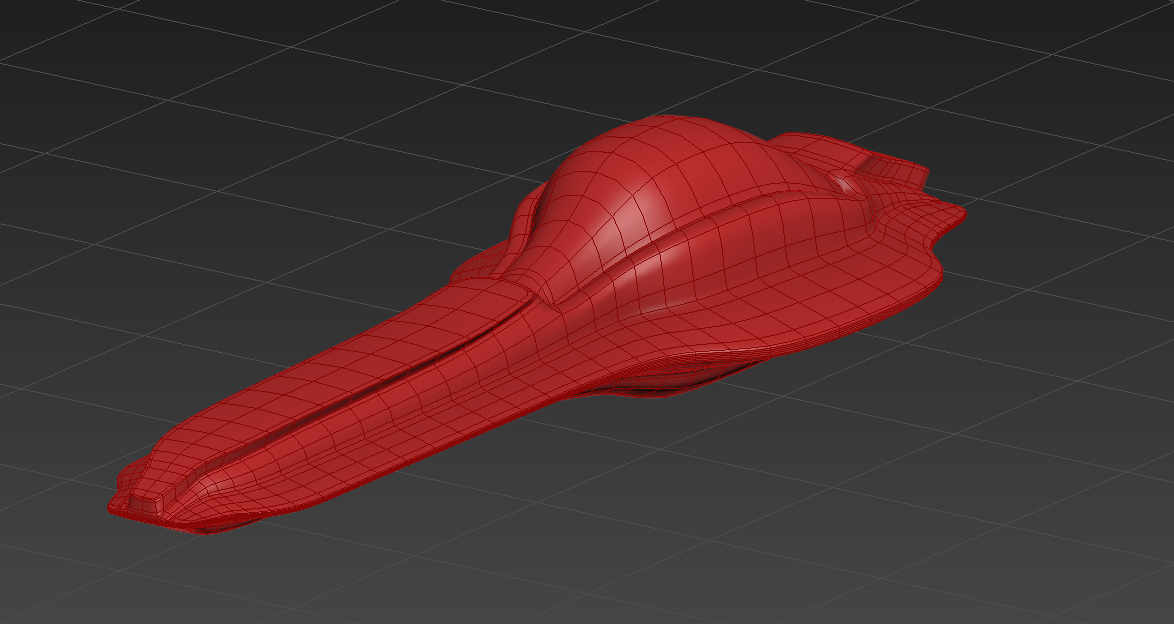
It was easier to connect the engine to the cockpit piece using x-ray mode.

Once I connected it and made sure that it smoothed well, I cut the model in half (deleted half of it) and then used the mirror modifier to have an exact duplicate side.
Back
.PNG)
Front
.PNG)
Perspective
.PNG)
Top (Current State of Model)
.PNG)
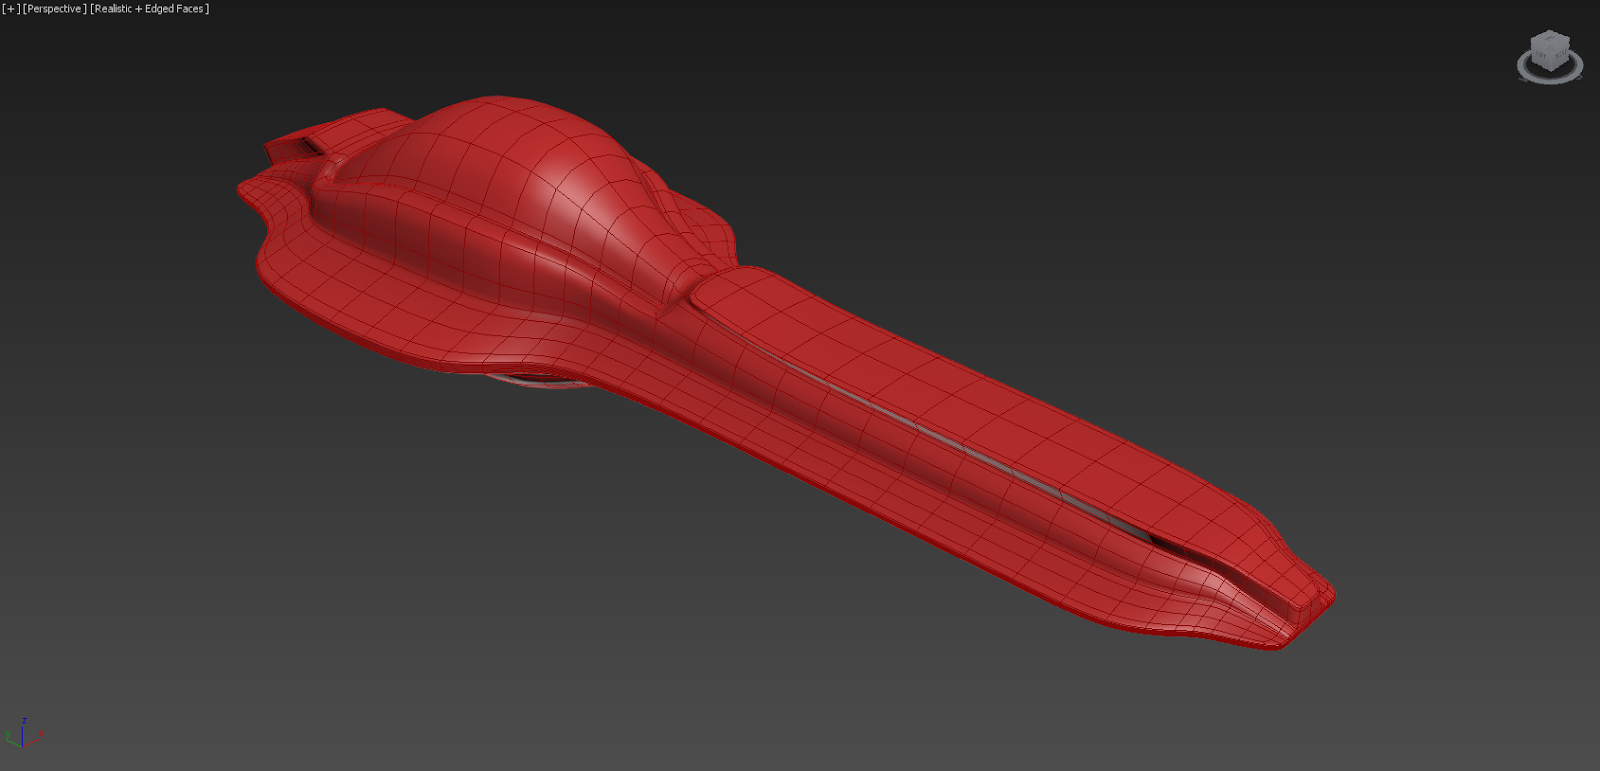
Next I started modeling the exhaust cone. I used a couple photographs and screenshots for reference.


This part was easy and didn't take very long to model. I just used a simple cylinder to make it.

I decided that the front propeller would be the final piece of the engine that would be seen if the ship had a front flyby with a camera in Unity 3D.


I discovered that the first time I mirrored half of my model that it doubled or quadrupled the models polygons because I had left the NURMS Subdivision option turned on. So I went back and made sure the Subdivision option was turned off, which made the polys go down considerably.
When I tried to see how it would render in Unity 3D I ran into a problem. Unity only renders one side of face of a poly. This was because I built the engines using a cylinder which I opened up and then shift clicked and dragged the border to create the extra geometry.


I made a Unity account to see if I could get some feedback and I got two answers. One option was to duplicate some of the geometry on the inside of the engines and then flip the normals (I knew about that). The other was to do some fancy thing with shaders where you would use two shaders for one object. Because I didn't know how to do the shader method, I decided to duplicate some of the faces instead.


It turned out looking pretty good so I decided to move on to UV Mapping and Texturing next. There was a little bit of noise (black dots) on the engine so I double checked by triangulating the model and re-exporting it from 3DS Max.


It looks fine, so I will continue.
Hello everybody, sorry it took so long for me to update how the project is going. I started to UV map the ship first.

Things were going alright, but I then I realized something important. All the objects that I was going to build had to be reduced in polys first. So before I did any UV mapping I decided build all of my models first, reduce the poly count, and then UV map and texture my models. I moved on to building track pieces next.
(I will return to this portion of the blog when I have done what I have mentioned above).
No comments:
Post a Comment