Hello once again. Today starts the blog of project 2.
Project 2 includes poly-reduction, creating normal maps, UVs, texture maps, and possibly bump maps.
Poly-reduction and normal maps are very new to me especially in 3ds Max, but I will try to learn as much as I can.
I started by going through all of my models and deleting extra edgeloops and vertices that were now not adding much to the geometry.
I then looked to see if there was extra geometry that I could delete that gave the models their shape/detail. I can use the high poly model to bake most of the detail back into the poly-reduced model.
I decided to test and learn some of these principals by starting with the straight track piece. (I'll post pictures soon).
Alright, I am sorry that it has taken me so long to get back to re-posting things again (it has been about a month). Things did not go quite as planned. As it turned out figuring out how to create custom texture maps, UVs, Normal Maps, and poly reduction is a bit more time consuming and complicated than I first thought. Because of this I only completed 5 out of the 15 models or so. Here is what I did. I completed some of the most essential pieces first so that just in case I ran out of time I could still make a level with the pieces.
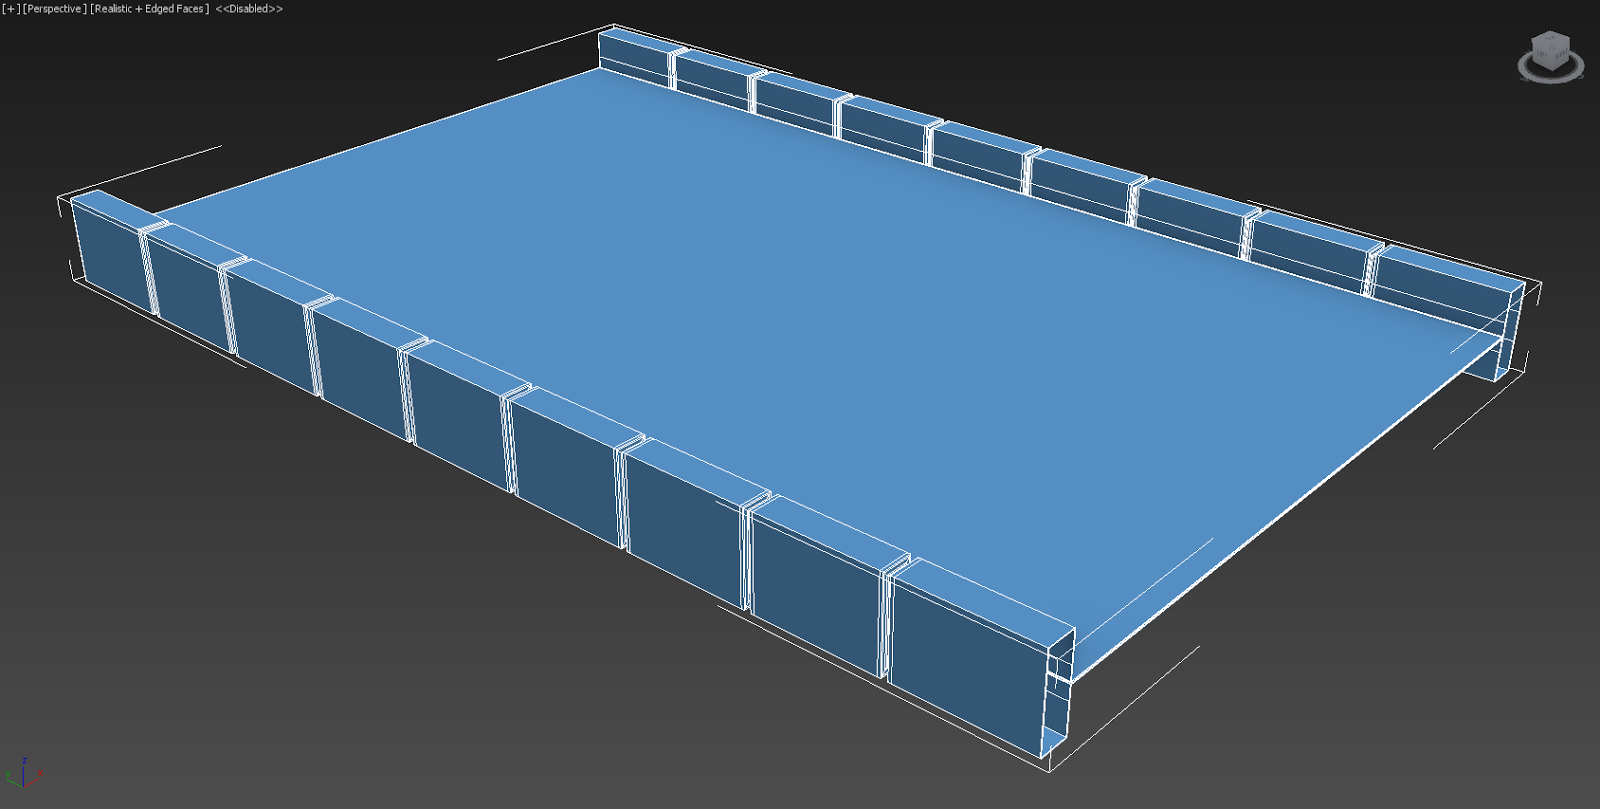
First I had to do the poly reduction:
Straight Track
Original Smoothed/Subdivided Poly Count: 17,896
Current Smoothed/Subdivided Poly Count: 6,432
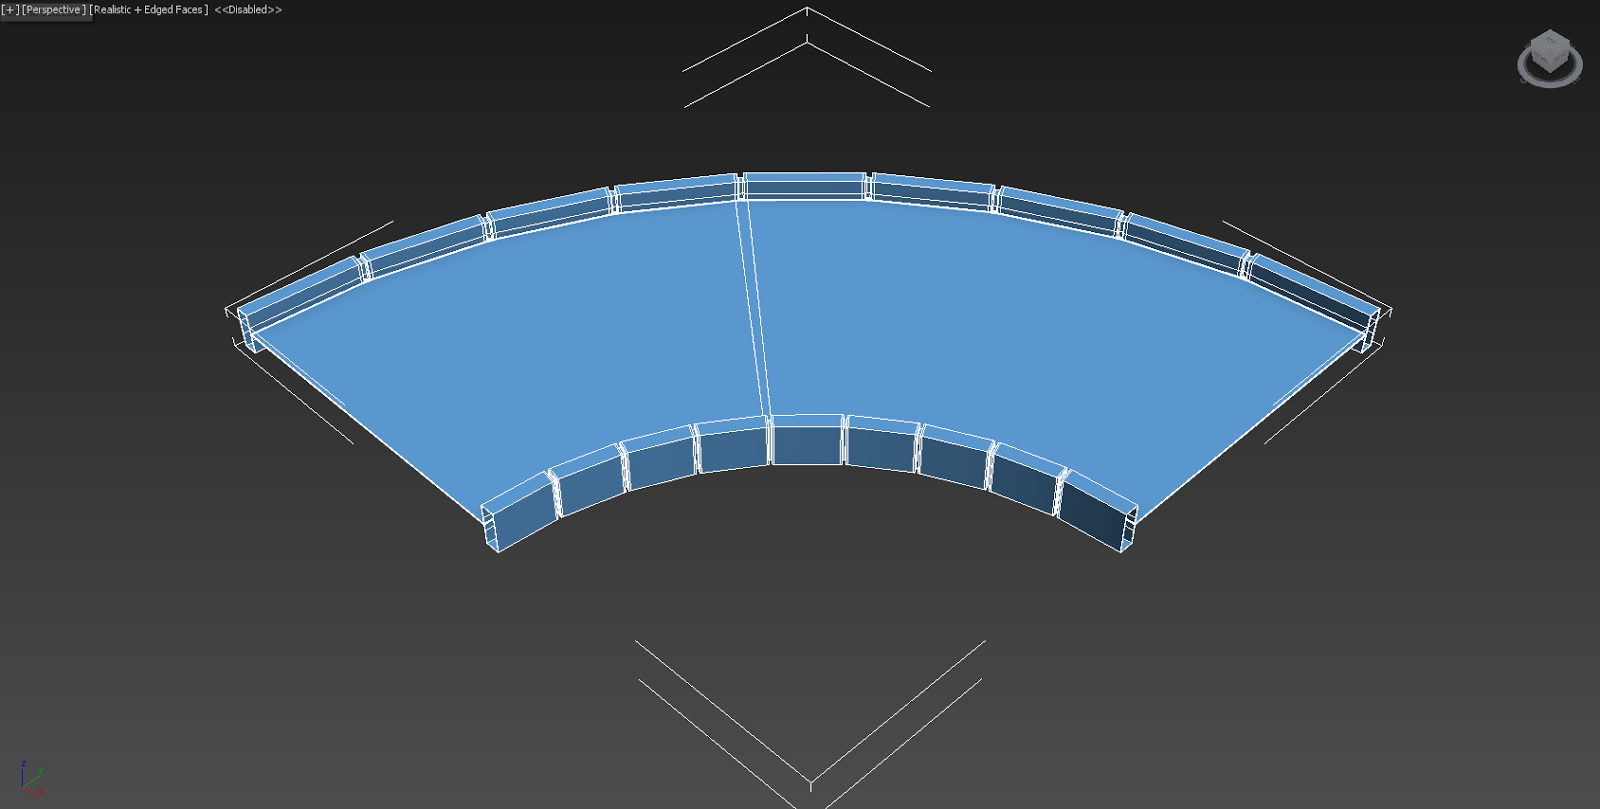
Curve Track
Original Smoothed/Subdivided Poly Count: 17,896
Current Smoothed/Subdivided Poly Count: 6,440
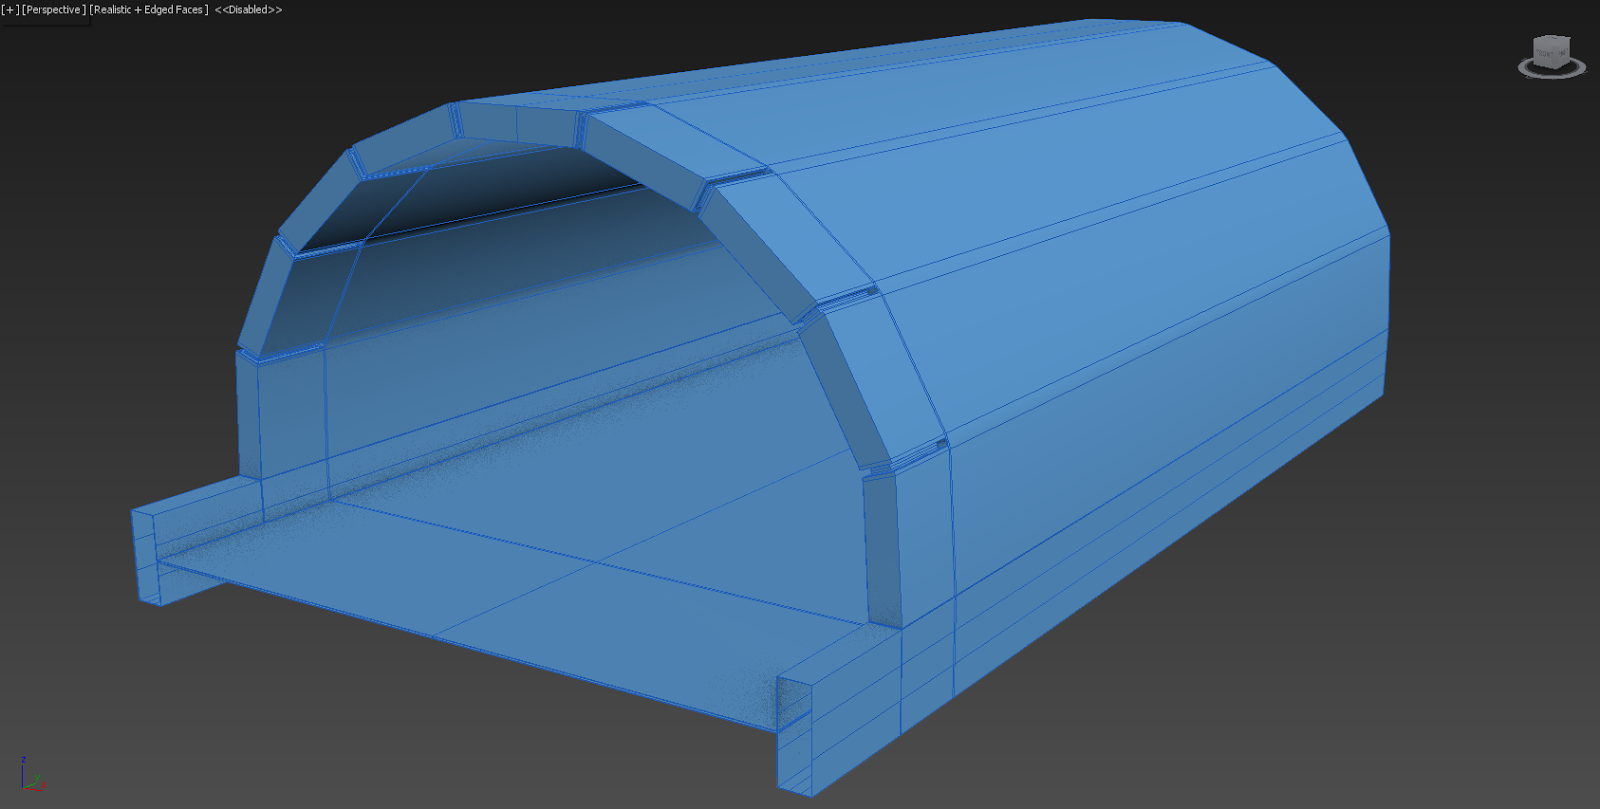
Tunnel Entrance
Original Smoothed/Subdivided Poly Count: 35,896
Current Smoothed/Subdivided Poly Count: 4,990
Tunnel Straight
Original Smoothed/Subdivided Poly Count: 24,000
Current Smoothed/Subdivided Poly Count: 864
Tunnel Bend
Original Smoothed/Subdivided Poly Count: 24,000
Current Smoothed/Subdivided Poly Count: 5,776
Then I had to UV map the poly reducted models (This part took a long time). I didn't realize how long it could take to UV map a model when you are trying to map it into different sections so that it will be capable of housing multiple different textures.
Straight Track UVs
Curve Track UVs
Tunnel Entrance UVs
Tunnel Straight UVs
Tunnel Bend UVs
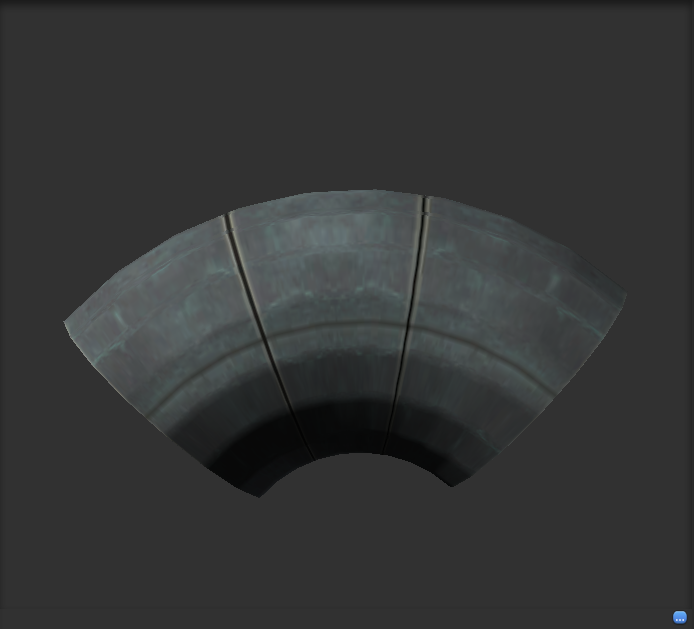
Texturing it came next which also took some time, besides having to look for some base textures to use, I also had to create multiple panel textures, outside textures, and floor textures. Sometimes the UVs didn't quite match up with the textures so I had to go back and redo parts of them.
Straight Track Textured
Curve Track Textured
Tunnel Entrance Textured
Tunnel Straight Textured
Tunnel Bend Textured
I put a lot of effort into these models and if I have time I would like to go back and complete the rest of them. Go to the next blog on "Project 3: Bringing Everything Together in Unity 3D" to see what I did with them.
Notes on finding textures:
I am finding it difficult to find good textures to work with. A couple of the better websites that offered decent textures were
http://www.cgtextures.com/ and
http://www.mayang.com/textures/ . The part that I found most difficult was trying to find textures that I could mess around with in Photoshop. If metal pieces (like the ones I was looking at) had concrete or something other than a solid color in the background it becomes time consuming and sometimes difficult to dissect the texture you want to use from its original photograph.